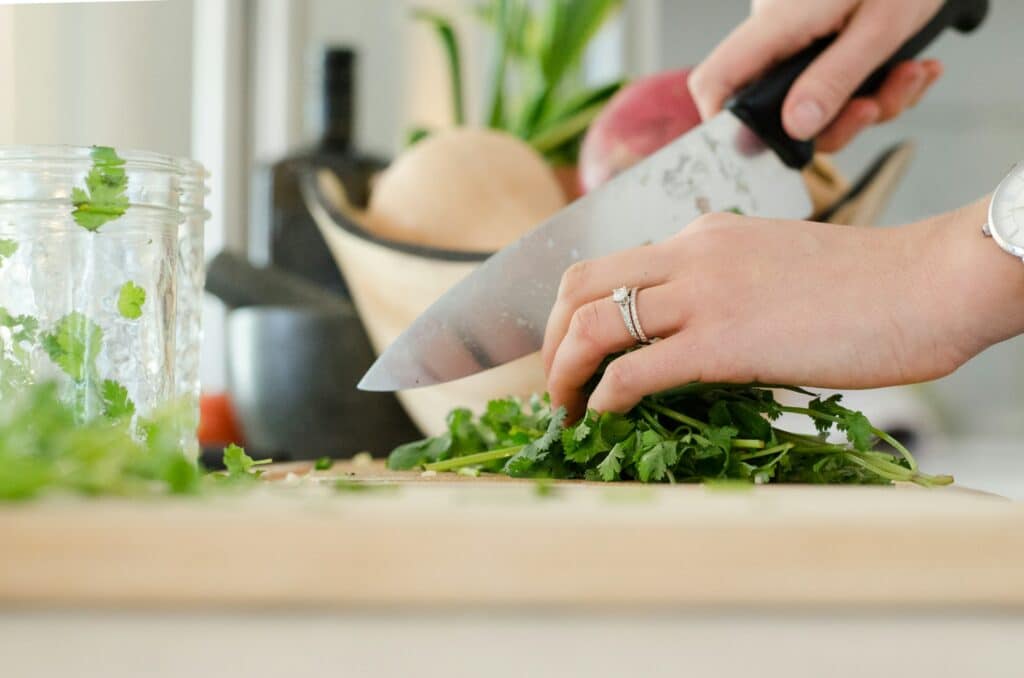
When I started to learn cooking with my mom I used dull knives and had some close encounters where I almost cut my fingers. Since then, I make sure my knives are sharp before I use it because a dull knife isn’t only hard to cut food, it is dangerous and can cause serious damage. If you have such knives in your kitchen, it is time for you to pay attention before you use them.
In this guide, I’ll discuss how you can sharpen dull kitchen knives and maintain sharpness for a long time.
Is your knife sharp or dull?
Because you sharpen your knives, it is crucial to know whether the blades are dull or not. There are few ways to know that.
1. Visual Inspection
Hold the knife under the bright light and inspect the edge area. If it is reflecting in the cutting edge, it means the knife is dull. If you don’t get any reflections, it means the knife is sharp.
Here’s a quick video that explains it.
2. Thumb test
Run your thumb slowly on the cutting edge of the blade and examine If you are able to feel the fingerprints. If you are able to feel it, the knife is sharp. If you don’t feel it, you need to sharpen it.
3. Food test
Take a food like a tomato and try cutting it. If you can cut it without putting too much pressure, the knife is already sharp. Also, a dull knife will make some weird sound, whereas a sharp blade won’t.
Honing vs Sharpening: What’s the difference?
1. Honing
A knife’s steel has micro serrations, and each time you use it, it gets microscopic teeth. After prolonged use, these teeth get bent and may not be able to cut anything.
With honing, you can realign those teeth using an abrasive steel, ceramic, or diamond-encrusted rod. These are called “honing rods”. It is a hardened piece of steel with grooves cut in it. These grooves help the damaged teeth get back in shape after honing. You don’t lose any steel with the honing process, and doing it often won’t do any harm to the blade.
With sharpening, you’ll have to take off some steel to re-establish the apex geometry of your blade’s edge to build a new set of sharp teeth.
2. Sharpening
It is the process of removing some steel from the blade to create a new edge. Sharpening should be done only if the knife is extremely dull or else, honing it would be just fine.
Sharpening can be done by using a whetstone, an electric knife sharpener, or a guided system.
How to hone a knife?

For honing, there are various types of rods available, but I prefer ceramic rods over others.
I use a Messermeister ceramic sharpening rod because it works with both stainless and carbon steel knives. I’ve honed blades up to 10 inches with it, and it works perfectly fine. I recommend you get the same for effective honing.
Here’s what you need to do:
- Hold the knife in your dominant hand and the honing rod in your other hand.
- Place the heel of the blade in the rod and lower the blade in eighth-inch.
- Slowly draw the knife from the heel to the tip on each side of the blade 4-5 times, and that will be it.
Try cutting a vegetable like a tomato to test the result of honing and repeat the process a couple of more times until you get back the sharpness.
If you don’t have a honing rod, you can just use the unglazed part of a mug or a ceramic plate to hone your knife. It’ll deliver similar results to a honing rod. I use them when I’m not home and have no access to my honing rod.
Sharpening a kitchen knife with a whetstone
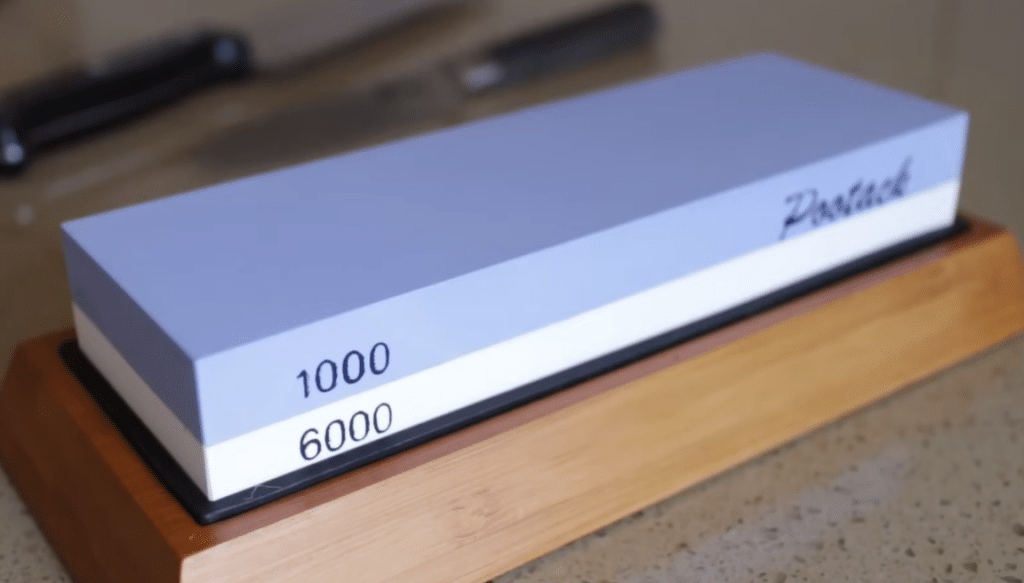
A whetstone is a stone used to sharpen knives. The abrasive surface of the stone lets you sharpen dull blades to restore the sharpness. Always choose a dual-sided stone that comes with a coarse side and a fine side. The coarse side helps the blade get in shape and the finer side refines the edge.
I use the Intelitopia knife sharpening stone, but you can get any other one with similar grits.
Step 1: Pour some cool water into a bowl and place the whetstone in it.
Step 2: If the bubble stops coming, it means the whetstone absorbed the water and is ready to use.
Step 3: Hold the knife in your dominant hand and place it in the whetstone at a 90-degree angle. Now, bend the angle in half and repeat the step to hold the blade at around a 22.5-degree angle.
Step 4: Place your other hand below the spine and put some pressure.
Step 5: Draw the knife from tip to the heel, turn the blade and then repeat the same process for at least 4-5 times per side until you get the burr.
Step 6: Flip the fine side of the stone and follow the same process until you remove the burr.
Step 7: Hone the blade by running the rod a few times, and that’s it.
Using a guided system to sharpen a knife
If there are some knives I haven’t used for a while, I use a guided system to hone and sharpen them.
Each system comes with a different set of honing rods for specific purposes.
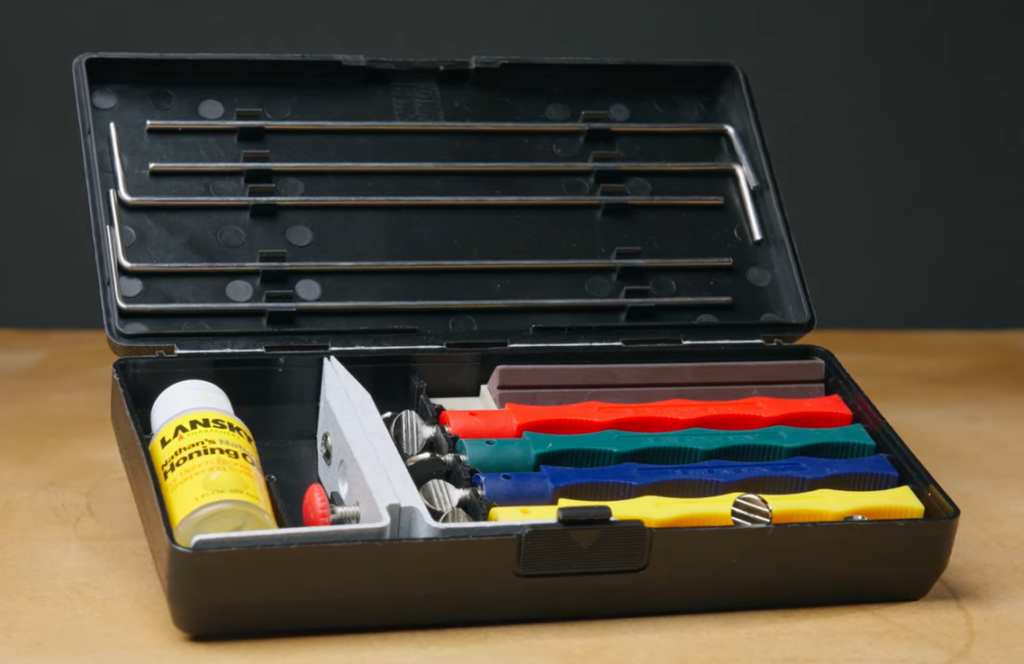
I own a couple of guided systems and one of them I regularly use is the 5-Stone Ceramic Knife Sharpener by Lansky.
If you don’t know how to select the right one, I recommend you get this model because it comes with all the essential rods to sharpen any knife and comes under a $100 budget.
Here’s what you get on this system:
- Coarse red hone– To sharpen dull and damaged blades.
- Medium green hone– For general repair and edge refinement.
- Fine blue hone– It lets you maintain the sharp edge.
- Ultra-fine ceramic yellow hone– To get a razor-sharp finish after final polishing.
- Serrated medium hone– For sharpening your serrated blades.
How to use it?
Step 1: Secure the knife to the centre of the camp if the blade is 7 inches or shorter. If the blades are larger, you need to work on each section of the blades separately.
Step 2: Select the honing rod based on your blade’s condition and attach it to the guided system.
Step 3: Select the sharpening angle from the system. I prefer the 25-degree angle as I get the desired result from it.
Step 4: Start moving the honing rod back and forth a couple of times until you get the sharpness. Don’t apply too much pressure while doing this, or else the blade may get damaged.
If you have any doubts, I recommend you watch this video.
Sharpening a knife with an electric knife sharpener
I liked traditional sharpeners more than electric sharpeners until I tried Chef’s Choice 15XV and started to like it because of its ease of use. It is an excellent device to sharpen a knife if you are just beginning to learn knife sharpening.
There are 3 slots on this sharper, and they are:
Slot 1: Lets you sharpen the blade using the medium diamond abrasives at a 15-degree angle. It is suitable for dull blades.
Slot 2: It features diamond abrasives to hone a knife.
Slot 3: It helps the blade to polish and removes the burr.
I’ll show you the right way to use an electric knife sharpener and I’ll take the model I’ve with me as an example. Steps are the same on most models but options may slightly vary.
- Plug the sharpener into a power outlet and turn it on.
- Place and hold the knife in the right slot based on the blade’s condition.
- Start sharpening from the left side and then move on to the right side. It’ll take some time but you need to be patient during this process. For context, it’ll take you about 5-6 seconds for a single pull for an 8-inch knife.
- Once you are done sharpening the blade, you’ll need to remove the burr using the third slot. Pull through the knife 2-3 in this slot and you’ll be able to remove the burr.
You can watch this video if you have any doubts.
How to take care of your kitchen knives
1. Handwash them properly
Once you are done cutting, slicing, dicing, etc., make sure to thoroughly hand-wash them with a mild soap and water, then dry them.
2. Do not put it in the dishwasher
The dishwasher’s heat and the aggressive detergents can cause corrosion on the blade, and that’s why putting the knives in it isn’t recommended.
3. Store your knives safely
Always use a good knife block to store your knives, which is safe and secure. This is what I use for most of my knives and would recommend the same for you as well.
FAQs
1. What’s the best way to sharpen a kitchen knife?
Using a whetstone is the best way to sharpen a knife. You just need to know the right angle and process to get the desired result from it.
2. How do chefs keep their knives so sharp?
Most chefs hone their knives with a rod before using it and it is one of the main reasons their knives are usually sharper. Once in a while, they sharpen their knives with a whetstone and create a new sharp edge.
3. Does a dishwasher dull sharp knives?
Yes, it can dull sharp knives because it rubs with other items. Also, the heat and detergents could cause corrosion in the blades.
4. Does aluminum foil sharpen knives?
No, aluminum foil is much softer than a knife’s steel, and it can’t sharpen it.
5. What are common mistakes when sharpening knives?
Common mistakes include:
- Using the wrong angle to sharpen them.
- Applying an excess amount of pressure during the process.
- Sharpening a blade with a whetstone without proper soaking.
- Ignoring the burr and not removing it.
- Using the wrong tool to sharpen them.
- Using the wrong grit while sharpening.
- Over-sharpening a blade.
Conclusion
I always try to keep my kitchen knives sharper because I don’t like dull blades. I’ve used various methods to sharpen them, but whetstone is always my first preference while doing it due to its effectiveness. If the knife is already sharp, I just hone it before I keep the sharpness a little longer.
I hope you have learned the right way of sharpening your dull knives in this guide. If you have any other questions or doubts, let me know in the comments, and I’ll get back to you soon. Cheers!